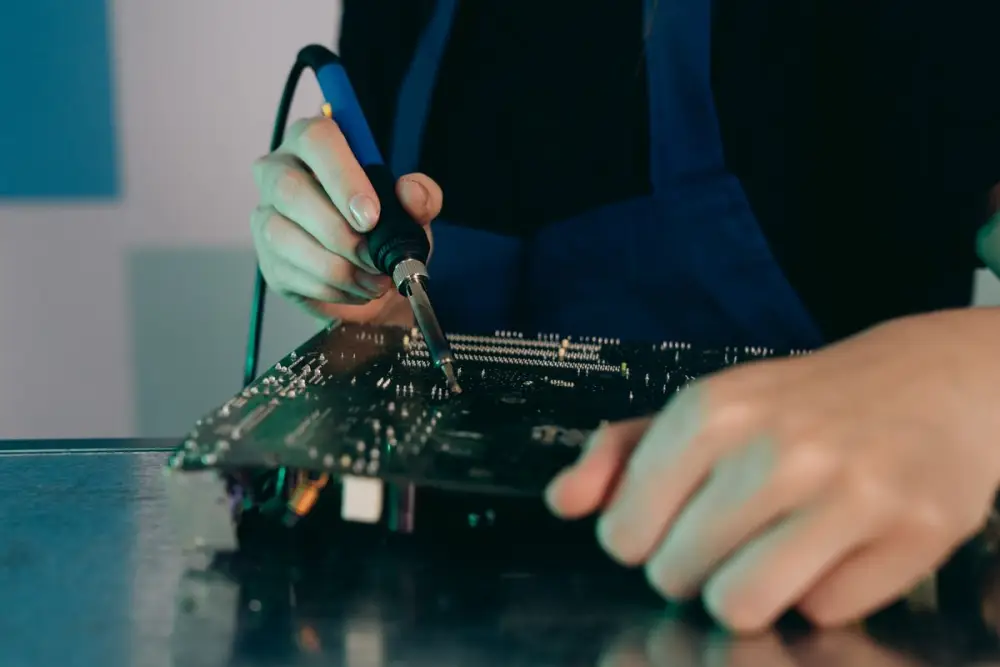
Soldering is the skill that turns a breadboard idea into something permanent. It is not hard, but good habits matter. This guide covers what to buy, how to look after the tip, how to make a good joint and how to fix a mistake.
Parts and tools you will need
- Soldering iron, 25 W to 40 W, or a temperature-controlled station
- Solder wire, rosin flux core, thin gauge such as 0.8 mm
- Iron stand with a damp sponge or brass wool for cleaning
- Flux paste or pen (optional but helpful)
- Solder sucker or desoldering wick
- Side cutters, tweezers, and a practice stripboard
Choosing an iron
| Type | Good for | Watch out for |
|---|---|---|
| 25 W to 40 W fixed iron | Resistors, LEDs, headers, wires, general through-hole work | No temperature control, so keep it on the stand when idle |
| Temperature-controlled station | Fine work, learning, and reliable results | Costs more |
| 60 W and above | Large joints, heavy wires, big pads | Can lift pads and damage small parts |
For leaded solder, around 320 to 350 degrees Celsius is a common working temperature on a controlled iron. Leaded solder melts at roughly 183 to 190 degrees, so the tip needs to be well above that to work quickly.
Tip care
- Tin the tip. A thin shiny layer of solder helps heat move to the joint.
- Wipe on a damp sponge or brass wool before each joint to remove old flux and dirt.
- Re-tin before you put the iron away. A coat of solder protects the tip from oxidation.
- Do not file or scrape a plated tip. You will wear off the coating.
- Do not leave it on for hours at full heat while idle. The tip oxidises and dies sooner.
How to make a good joint
- Fit the part so its body sits flat on the board, with legs through the holes.
- Bend the legs slightly outward on the back so the part stays in place.
- Touch the tip to the pad and the leg together. Count one or two seconds.
- Feed solder to the joint on the opposite side of the tip, not onto the tip itself.
- Remove the solder, then remove the iron. The whole job takes about two to four seconds.
- Let it cool without moving the part. Trim the leg just above the solder.
What a good joint looks like
| Good joint | Bad joint (cold or poor) |
|---|---|
| Shiny and smooth | Dull, grainy or cracked |
| Concave, small volcano shape | Round ball sitting on the pad |
| Solder covers the pad and flows up the leg | Gap between solder and pad or leg |
| Neat, no bridges | Blobs touching a neighbouring pad |
Why flux matters
Flux cleans the metal as it heats and helps solder flow into the joint. Rosin-core solder already has some. Add a little extra flux when you work on old boards or oxidised legs. Wipe off any sticky residue afterward with isopropyl alcohol.
Desoldering and fixing mistakes
Using a solder sucker
- Press the plunger down until it clicks.
- Heat the joint until the solder is fully liquid.
- Place the nozzle close to the joint and press the button. The molten solder is pulled in.
- Wiggle the leg gently to make sure it is free before pulling the part out.
Using desoldering wick
Place the braid on the joint and press the iron on top. The braid soaks up molten solder by capillary action. Cut off the used section and repeat with a clean part of the braid.
Never pull a part out before the solder is fully liquid. You can tear the copper pad off the board.
Practice, then build
Practise on a spare stripboard with old resistors before touching a real project. Once your joints look good, try a small build from our list of Arduino project ideas. If a joint seems to have failed, use a multimeter to check it, as shown in the multimeter guide.
Where to get soldering supplies
Konark Radio Centre in Ashok Nagar, Bhubaneswar, supplies electronic components and tools. Ask what you need on WhatsApp or visit the shop. Beginners can also see our project kits.
Frequently asked questions
What wattage soldering iron should a beginner buy?
A 25 W to 40 W iron is a good start for through-hole electronics. Lower than that struggles with large joints, and a much higher fixed-wattage iron can overheat small pads. A temperature-controlled iron gives you more room to learn.
Do I need flux if my solder has a core?
Most solder wire for electronics has a flux core, and it is enough for fresh parts. Extra flux helps with old, oxidised pads and legs, and when desoldering or reworking.
Why does my solder form a ball and not flow?
The surfaces are not hot enough, or they are dirty or oxidised. Clean the pad and leg, heat both together for a second or two, then feed solder to the joint, not to the iron tip.
Is the smoke from soldering harmful?
Flux fumes irritate the eyes and lungs, so work in a ventilated space and do not lean over the joint. Leaded solder contains lead, so wash your hands before eating and keep it away from children.
Need the parts?
Send the parts list on WhatsApp or walk in. Plot No. 39/F, Ashok Nagar, near Sreeleathers, open 10 AM to 9 PM, all 7 days.